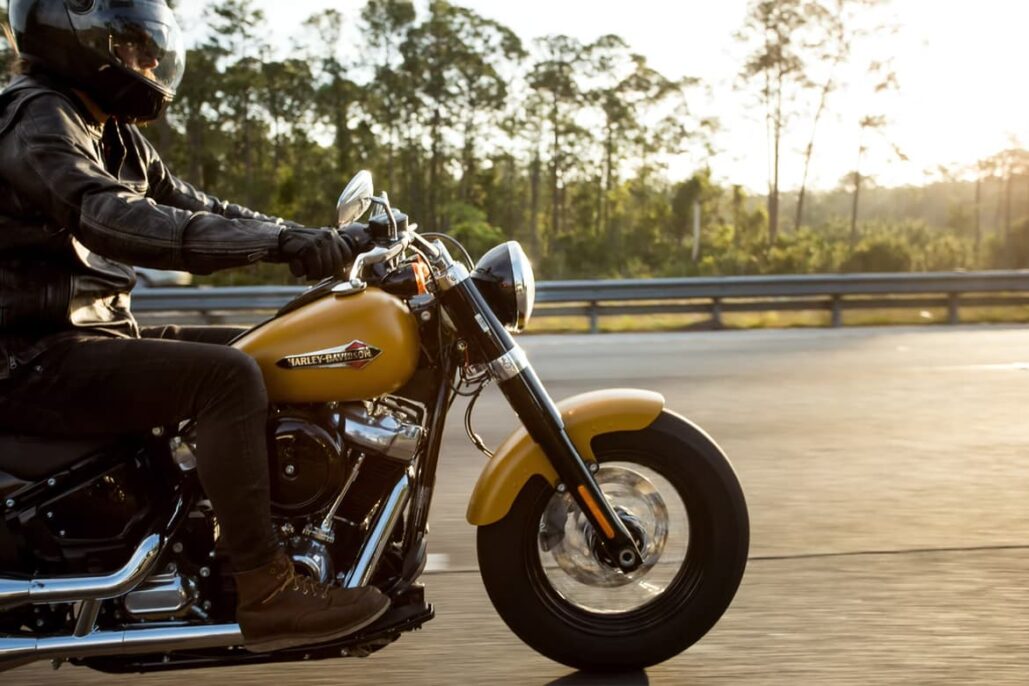
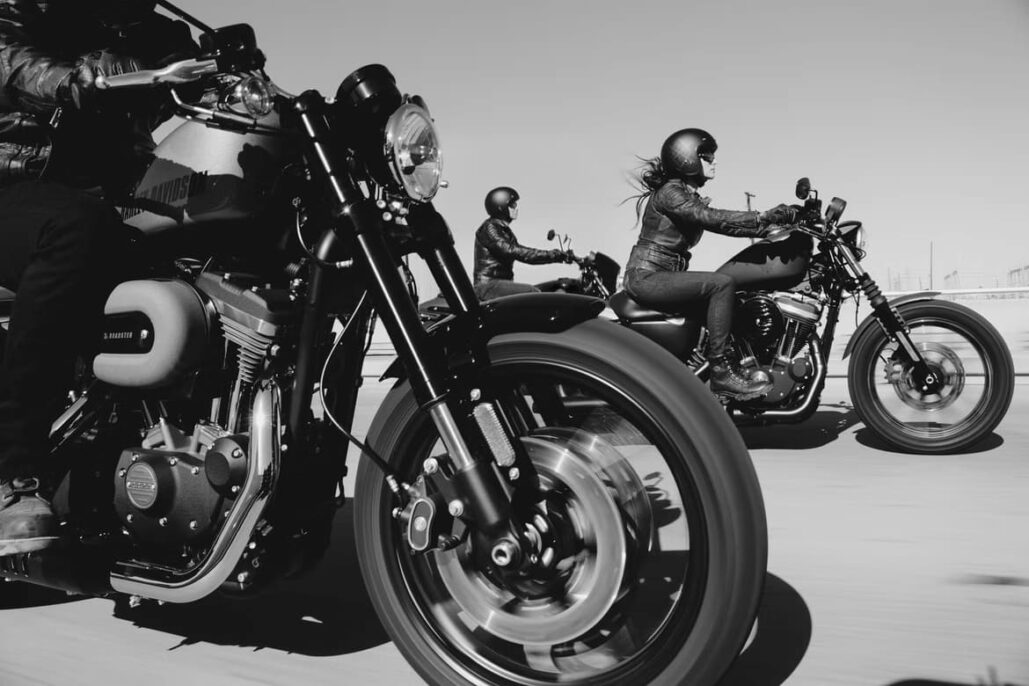
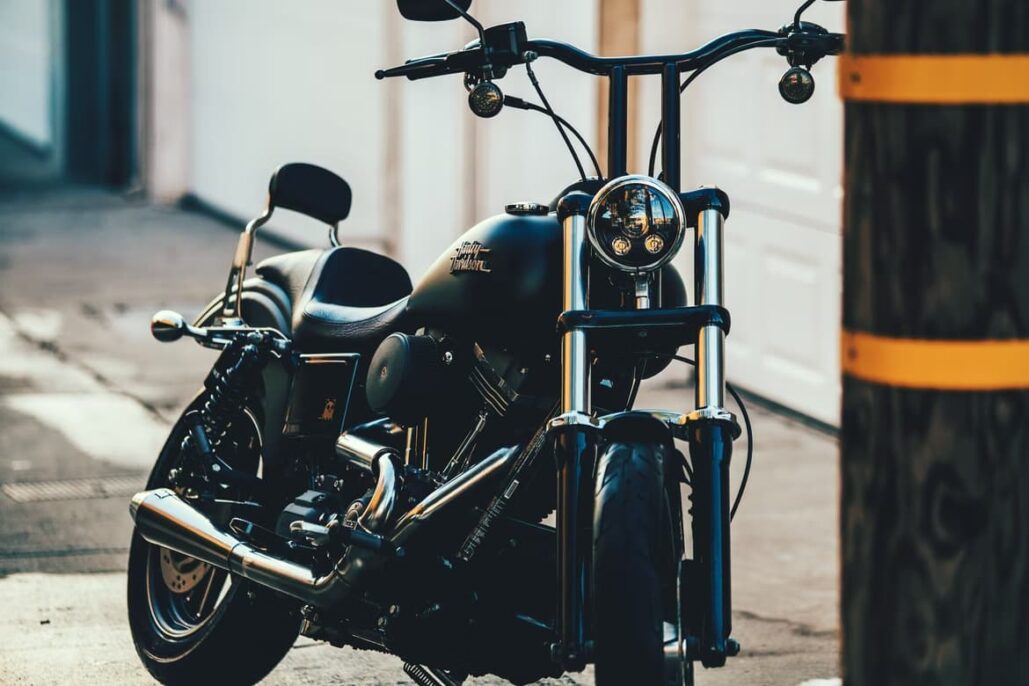
The right Harley Davidson handlebars and controls can make a huge difference in how your bike rides, handles, as well as how comfortable it is. It’s one of the most frequently made changes on Harley bikes, as it plays a huge role in not only the aforementioned factors, but it also completely changes the appearance of your bike, making you stand out from the crowd, even if you’re at a Harley Davidson event. However, you can’t just get any random handlebar and hope for the best. There are many different factors you’ll have to consider.
First and foremost, you’ll have to know what you’re trying to do with the handlebar and controls. Once you’ve figured that out, you can start looking for Harley Davidson controls and handlebars that provide the feel and look you’re trying to get. There are 5 measurements to pay attention to when shopping for these parts – diameter, pull back, centre, riser and overall width. Here are the reasons why you need to pay attention to these measurements when deciding.
Important Measurements for Motorcycle Handlebars
The Diameter
As far as handlebar diameter goes, the standard is 1″. While there are some bikes that are fitted with 7/8″ handlebars, the majority of handlebars manufactured after 1990 are 1″. There are also handlebars with a thicker diameter, such as 1 1/4″, but those will still have a clamping area of 1″, allowing you to use risers made for the standard diameter.
The Overall Width
The width is what you’d expect it to be – the total width of the handlebars ranging from one end to the other, where the grips are installed. For the best riding experience, the width of the handlebars should match your shoulder width. However, the ideal width for you can depend on the type of bike you have. Larger, cruiser and vintage bikes generally feature wider handlebars than skinnier choppers made for splitting lanes down the highway.
The Rise
When discussing handlebars with fellow Harley owners, you’ll notice that the rise is what they talk about most. If someone says that they’ve got 16″ Ape Hangers, they’re referring to the rise of their handlebars. This measurement represents the size of the handlebars going from the bottom to the top, where your grip will be.
 Centre Width
This is the measurement of the handlebars before the bends, where they are clamped into the risers. It’s an important factor to consider as some models with fairings can only be fitted with bars with specific widths.
Riser Width
The riser spacing is one of the more underrated measurements, and many people don’t pay proper attention to it. It’s the measurement where the bars clamp onto your Harley. For most Harleys, that measurement is 3 1/2″. Some, however, have 4 1/2″ centre-to-centre spacing, such as the Springer.
Other Factors to Consider
There are a few other things you’ll need to consider when buying Harley Davidson controls and handlebars.
- Fly-by-wire/throttle-by-wire – This alludes to the throttle action of some Harley Davidson models, which calls for the cutting of a series of notches into the handlebar’s throttle side. This is necessary so that the electronic throttle works. While it may sound complex, it’s far from it, and if you have a throttle-by-wire Harley, they’re a must.
- Knurled bars – Knurled bars are bars that go through a manufacturing process that involves a pattern of angled, crossed or straight lines being rolled into the bars on a lathe. This process is performed on the area of the bars where they clamp to the risers to provide a stronger, non-slip surface.
- Dimples – This refers to the area where a dimple is pressed onto the handlebars, right next to the grip area. Dimples are required on some Harley motorcycles to recess wires for certain controls.
- Drilled bars – As the name implies, these bars feature pre-drilled holes so you can easily install wiring inside them. This is generally done by custom builders to keep the handlebar area free of wires and clean.
 How to Install New Harley Handlebars
Once you’ve chosen the new handlebars, it’s time to get them installed. There are many videos online that will show you how to go through the process, and depending on your bike, the process can slightly vary. However, in general, you’ll have to go through the following steps:
First Step: Remove the Grips
If you have billet grips, you’ll need small Allen screws to loosen them up. You’ll probably have an easier time removing the throttle side, as you may be able to loosen the control screws, detach the throttle cable, and slide off the throttle tube with the grip still on it.
Compressed air can be used to remove rubber grips. As you pull it off, slide the nozzle under the grip’s edge and spray some compressed air on it. If your grips are glued or refuse to come off, you’ll have to slit through them with a scalpel or razor blade, and just install new grips on your new handlebars.
You must also take out the controls, blinkers, and mirrors once you remove the grips. Try to move the controls off the handlebars after removing the screws holding them in place. If the cables attached aren’t long enough to take the controls off the bars, just leave them on for the time being. You’ll be able to take them off when you loosen the riser bolts.
Second Step: Loosen the Risers
Break the bottom nuts loose first if the risers are bolted to the bot. You can then utilise the bars as a lever as a result. The top riser clamps at the riser’s top should then be released. Take your time and carefully grasp the bar as you do this. You may slide the bars and take the controls out after removing the top clamps.
Third Step: Installing the New Handlebar
To install the new handlebars, you need to go through the removal process, but in reverse. Starting with the risers and working your way up is what you should do. Make sure you pay attention to all the cables and controls and ensure there’s proper cable slack as well as bar clearance. Try not to pinch any tyres, and make sure the front brake light switch is working properly.


